Apple Cider Vinegar Update
This post may contain affiliate links. Should a purchase be made trough these links, a small commission may be earned at no additional cost to you.

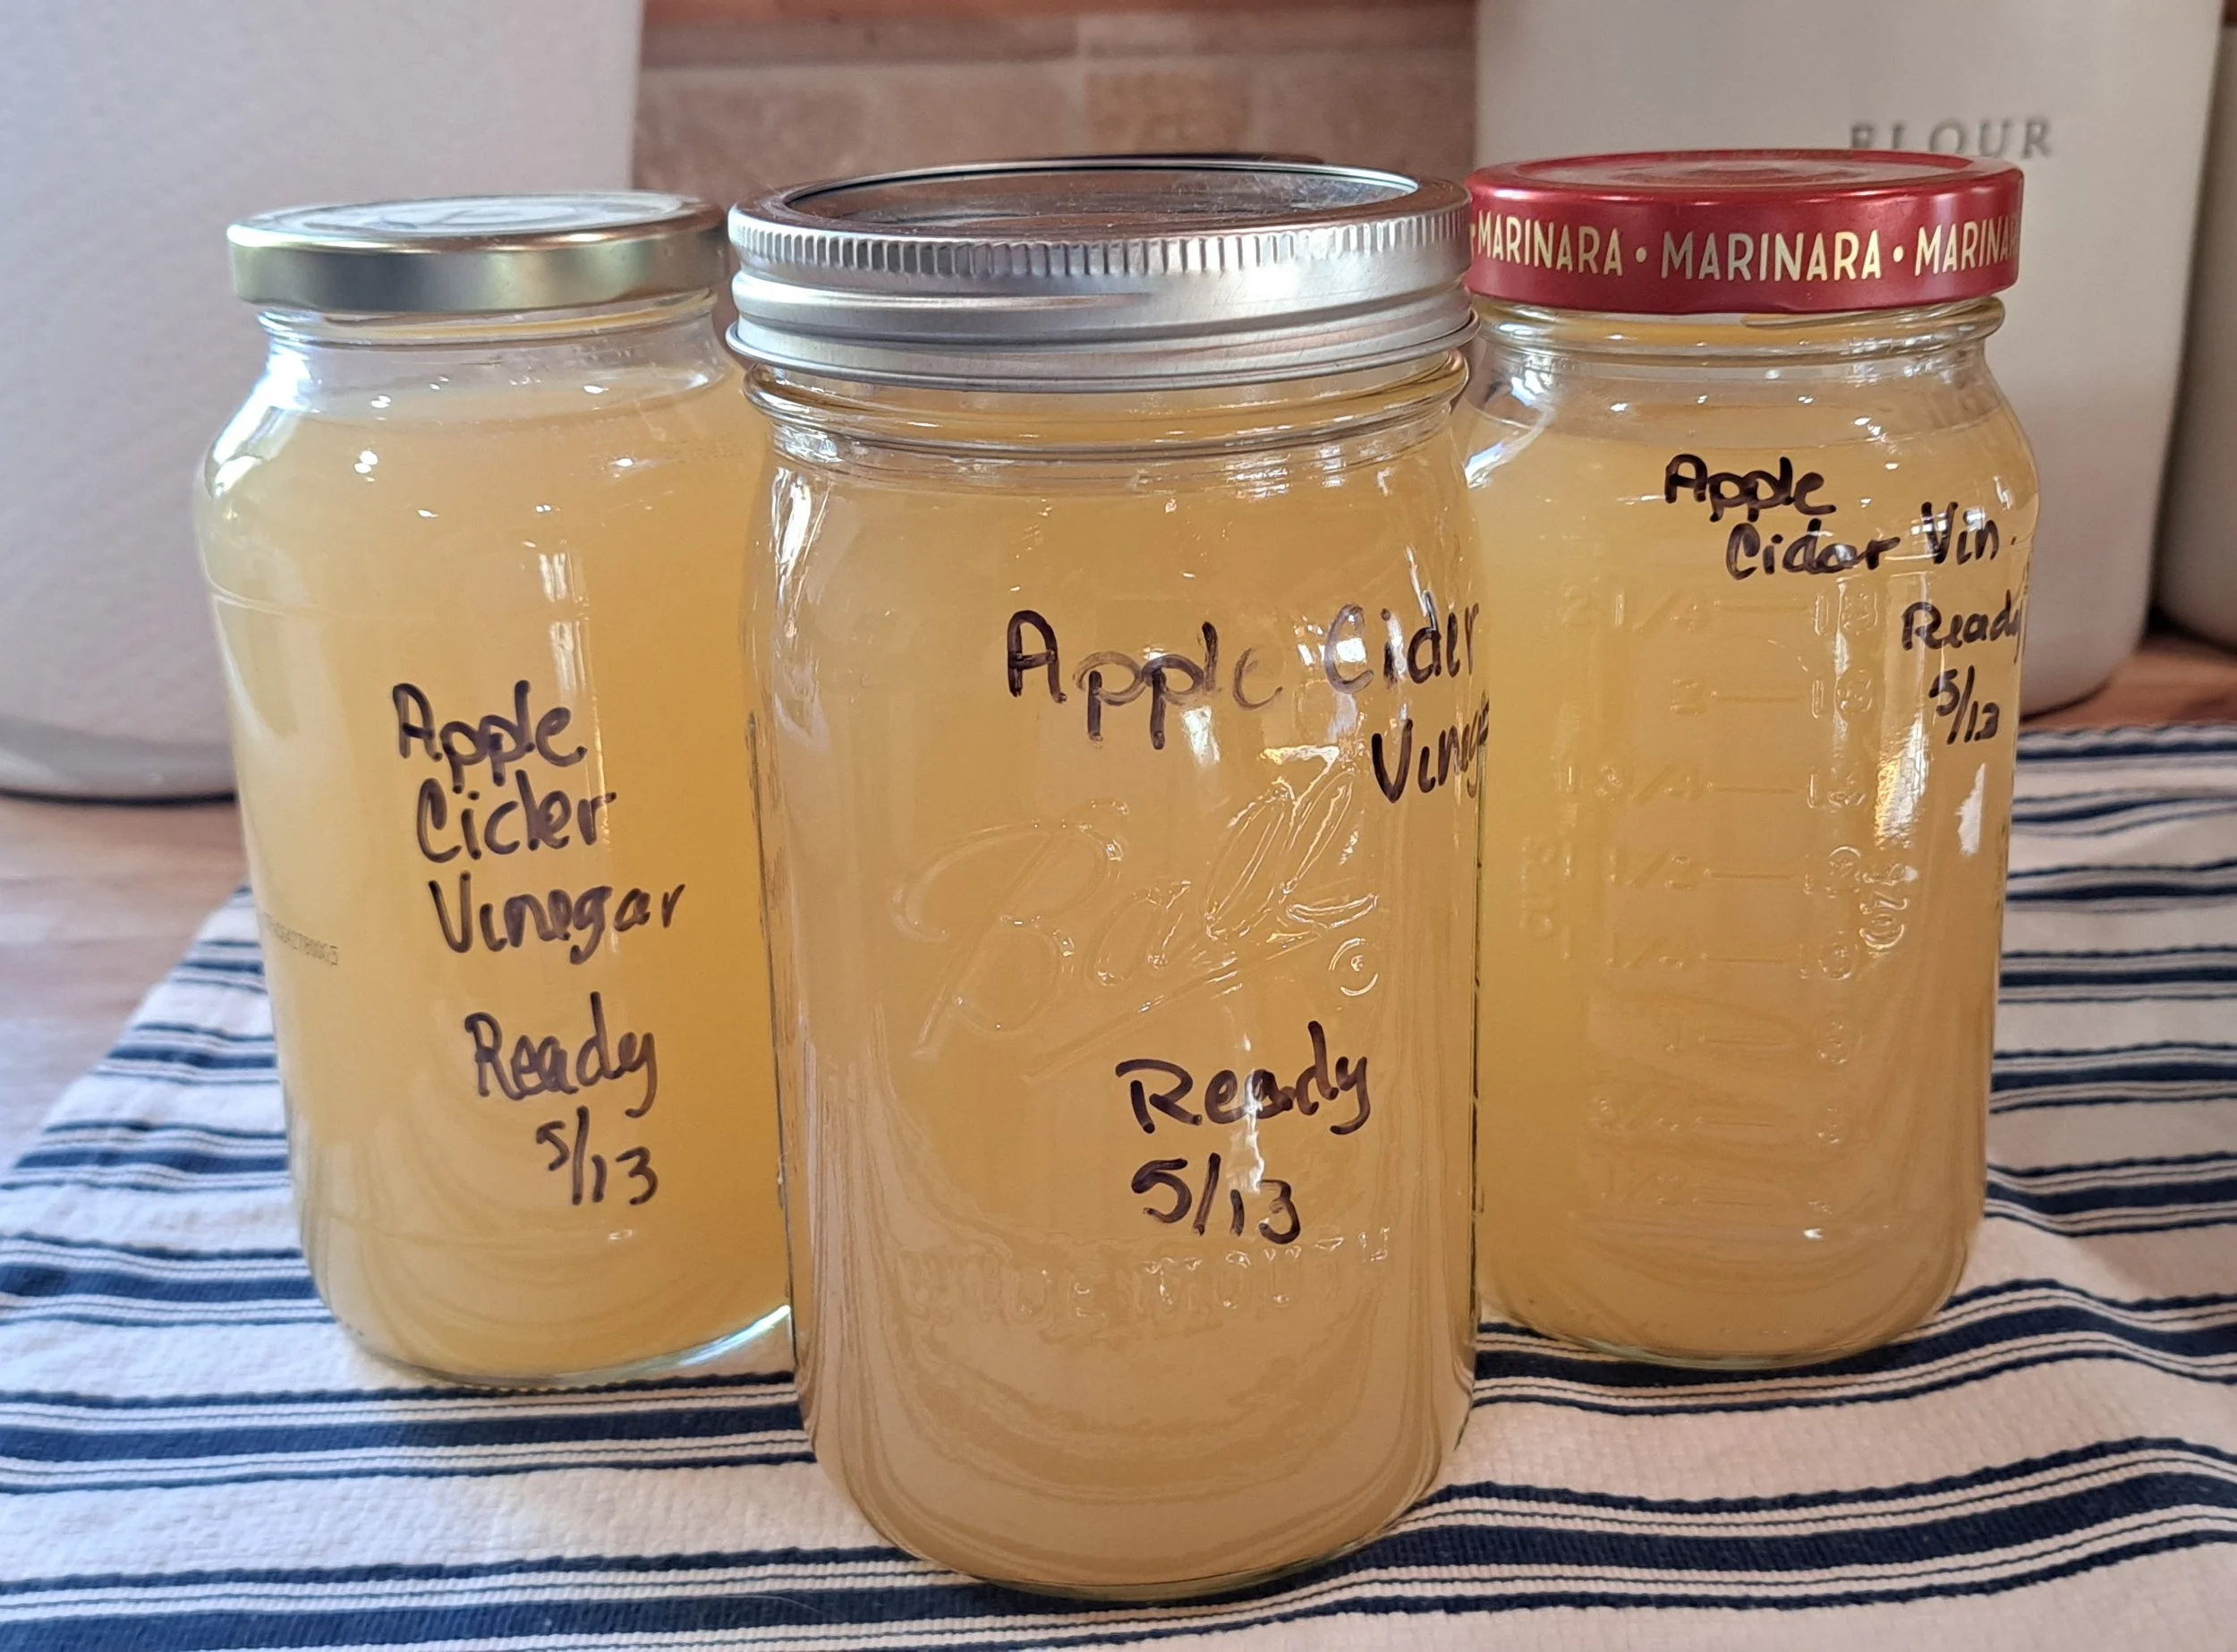
Ready to strain apples out
My batch of homemade apple cider vinegar (ACV) has been quietly working away, transforming into something truly special. After weeks of bubbling and gentle fermentation, it’s time for the next step—straining out the apples and jarring up for the final two months of aging. Here is the link to the previous blog with the recipe.
Straining & Jarring Up Your Apple Cider Vinegar
At this stage, the apple scraps have done their job, infusing the liquid with their natural sugars and kickstarting the fermentation process. Now, we need to remove them so the vinegar can develop its full depth of flavor.
What You’ll Need:
✔ A large bowl or another clean jar
✔ Cheesecloth or a fine-mesh strainer
✔ Wooden spoon or ladle
✔ Clean glass jars for storing
✔ Coffee filter or breathable cloth for covering

I use my jelly strainer set up. Works better than the cheesecloth I used to use and was inexpensive on Amazon.
Steps to Strain & Prepare for Final Fermentation:
Set up your straining station – Place a fine-mesh strainer or cheesecloth over a large bowl or clean jar. If using cheesecloth, you may need to fold it over a few times for finer straining.
Pour the liquid through the strainer – Slowly pour your vinegar mixture through the strainer, catching all the apple scraps. If needed, use a wooden spoon to press down gently to release all the liquid.
Discard or compost the apple scraps – They’ve given all their goodness to the vinegar! Toss them into the compost to nourish your garden soil.
Transfer the strained liquid into clean glass jars – Leave at least an inch of headspace at the top to allow for continued fermentation.
Cover with a breathable lid – Use a coffee filter or cheesecloth secured with a rubber band to allow air circulation while keeping out dust and fruit flies.
Let it ferment for another two months – Store your jars in a dark, room-temperature place. Over time, you may notice a cloudy layer or even a “mother” forming—this is completely natural and a sign of healthy fermentation!
I just keep the lids on traveling to the basement. I put jar bonnets on them to finish fermenting.
The Benefits of Apple Cider Vinegar
Homemade ACV is packed with enzymes, probiotics, and acetic acid, offering a wealth of benefits:
🍏 Supports digestion – A small spoonful in warm water before meals can aid digestion.
🍏 Boosts immunity – Fermented foods like ACV help support gut health, which is key to a strong immune system.
🍏 Balances blood sugar – Some studies suggest it helps regulate blood sugar levels.
🍏 Great for skin & hair – Diluted ACV works as a toner for the skin and a rinse for shiny, healthy hair.
🍏 A natural cleaner – Its antibacterial properties make it an excellent addition to homemade cleaning solutions.
For now, I’ll be letting my batch sit and develop even more richness. I can’t wait to open the jars in two months and enjoy the deep, tangy flavor of homemade apple cider vinegar. Have you ever made your own? Let me know your favorite ways to use it!
🌿 Until next time, keep things simple & homemade! 🌿
Roxanne
