DIY Cloth Bowl Covers
This post may contain affiliate links. Should a purchase be made through these links, a small commission may be earned at no additional cost to you.
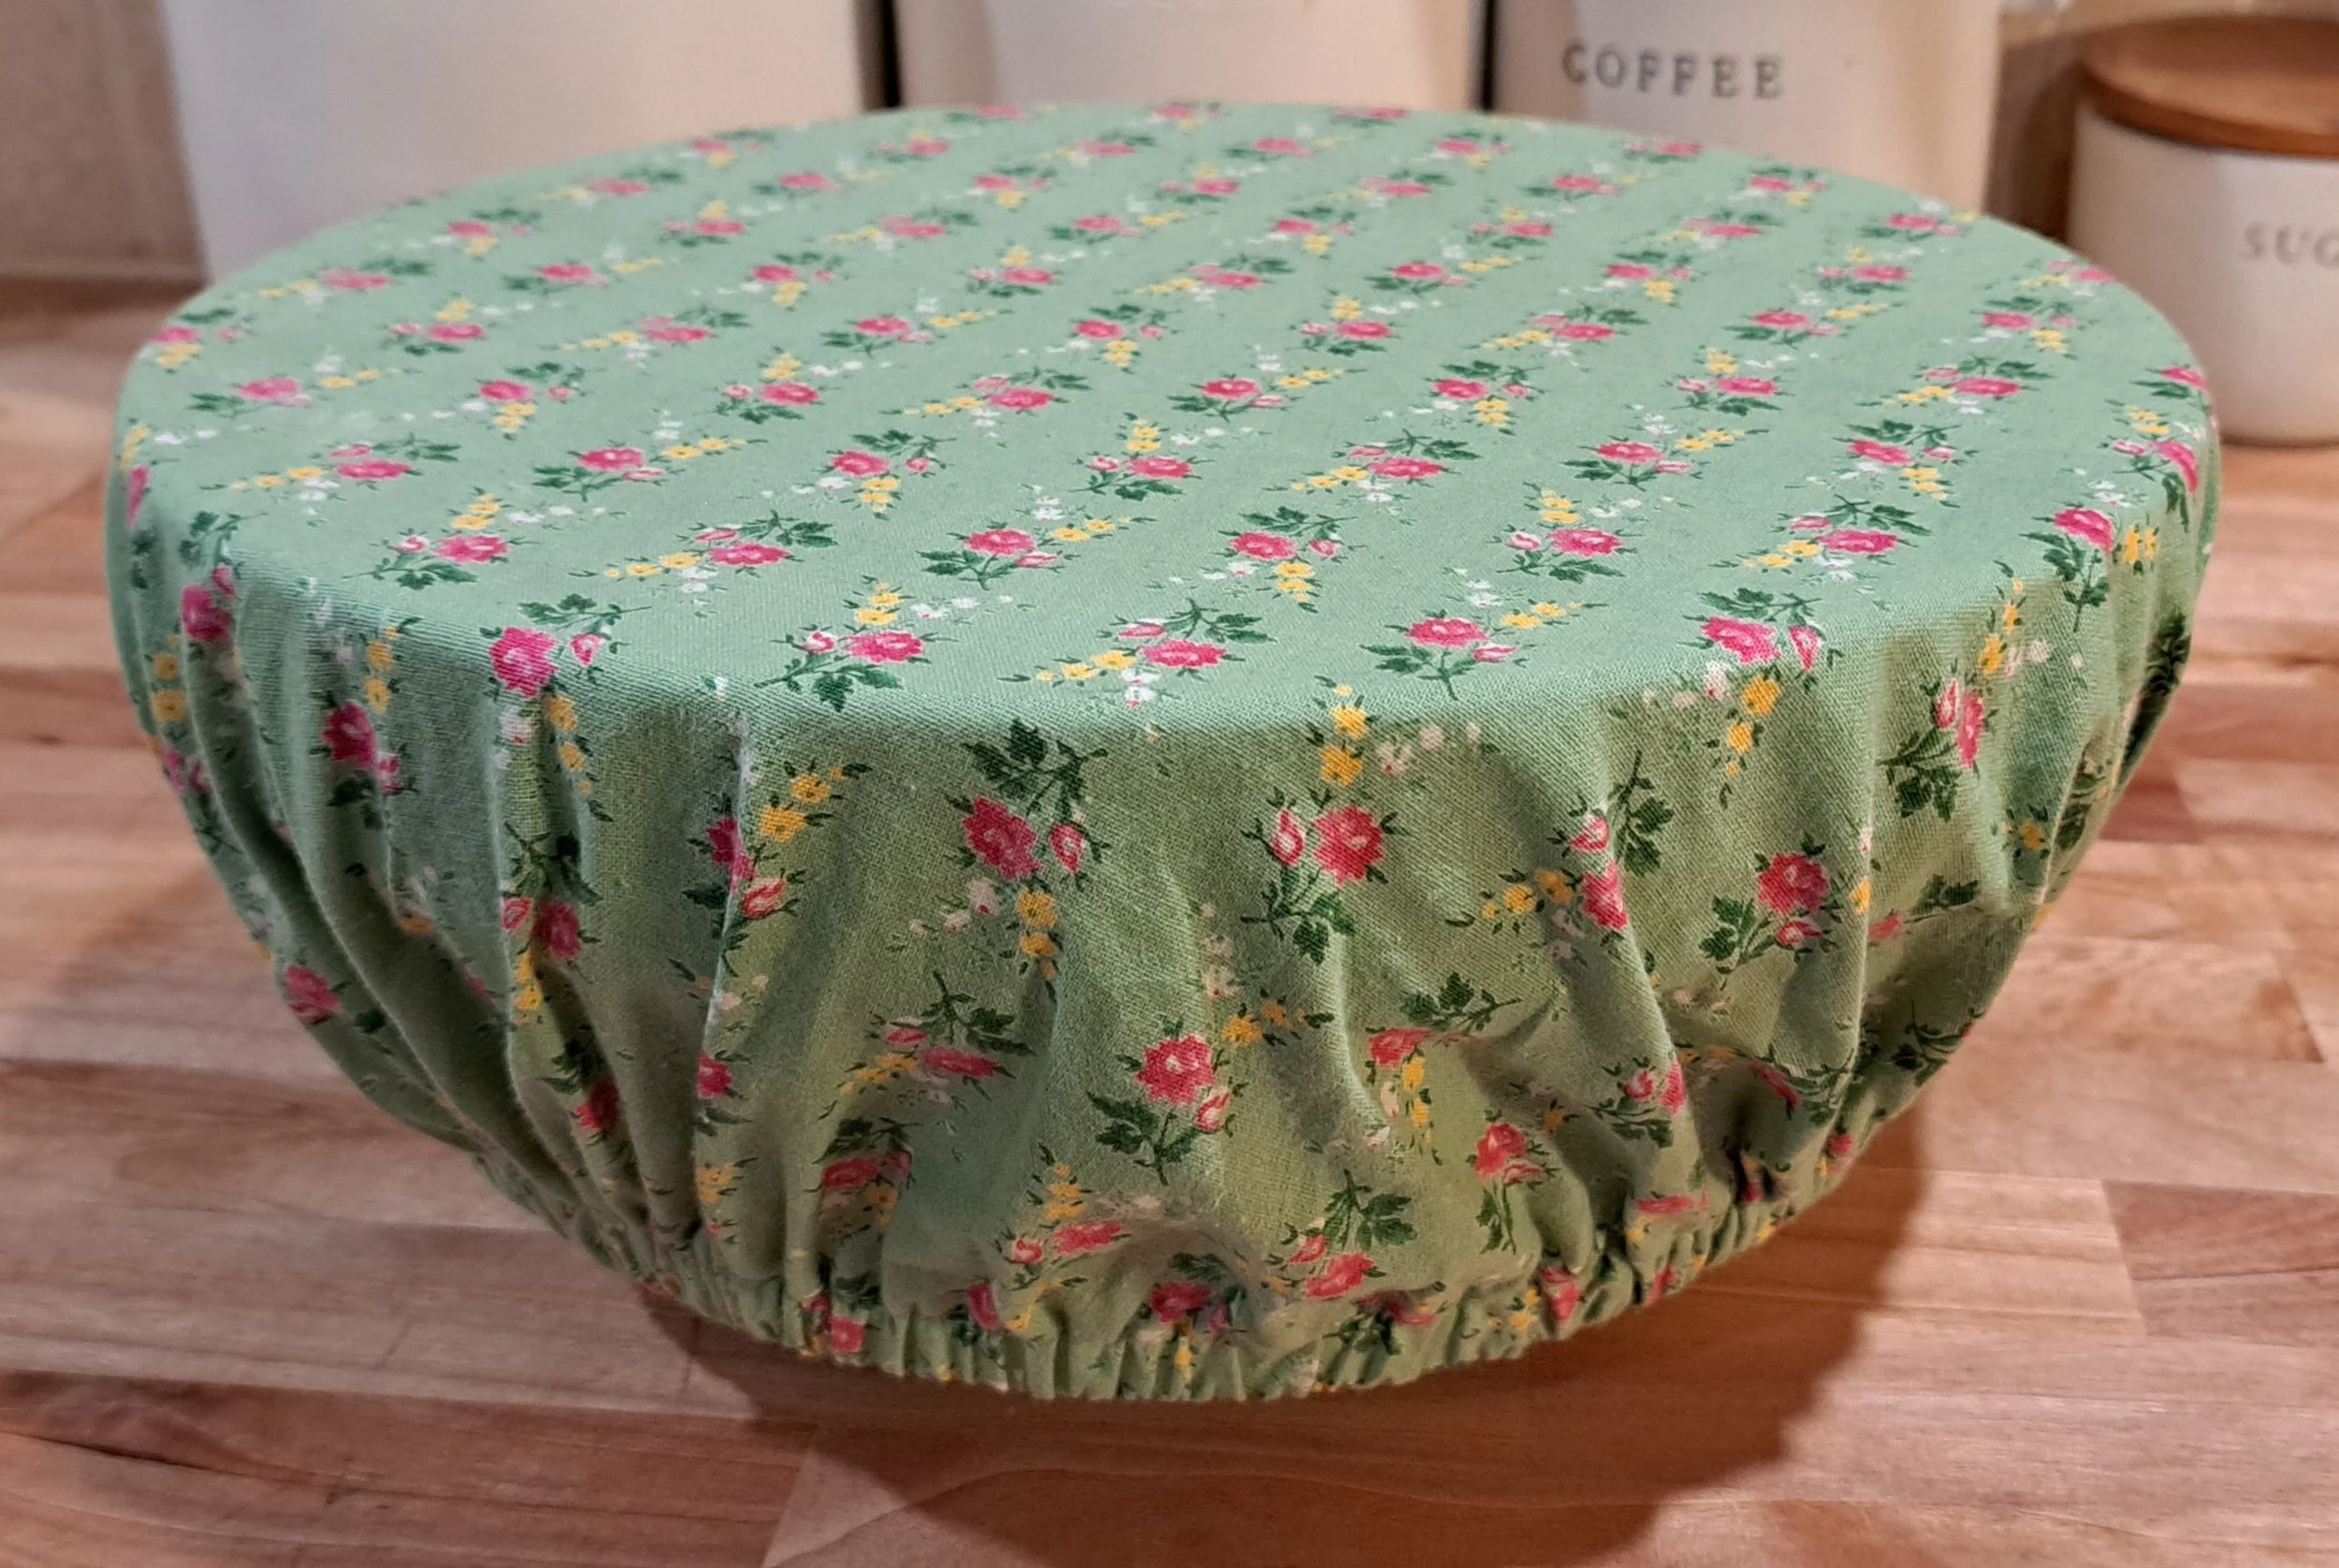
Purchased from Modern Prairie - My very first bowl cover and still in use! Once I learned how easy they are to make I ended up with a drawer full.
In today’s fast-paced world, it’s easy to reach for disposable items like plastic wrap or aluminum foil to cover leftovers or store food. But if you’re striving for a more sustainable, rustic, and simple lifestyle, making your own cloth bowl covers is a wonderful step toward reducing waste and adding a touch of handmade charm to your kitchen. Not only are these covers eco-friendly, but they’re also reusable, washable, and surprisingly easy to make. Let’s dive into how you can create your own cloth bowl covers!
Why Choose Cloth Bowl Covers?
Before we get into the how-to, let’s talk about the why. Cloth bowl covers are a fantastic alternative to single-use plastics. I have been on a year long quest to reduce my use of single-use plastics. Bowl covers have been a crucial strategy in using less plastic wrap. They’re perfect for covering bowls of dough, salads, leftovers, or even as a decorative touch for bread baskets. Made from natural fabrics like cotton or linen, they’re breathable, durable, and add a cozy, rustic vibe to your kitchen. Plus, they’re a great way to use up fabric scraps or old linens you might have lying around.
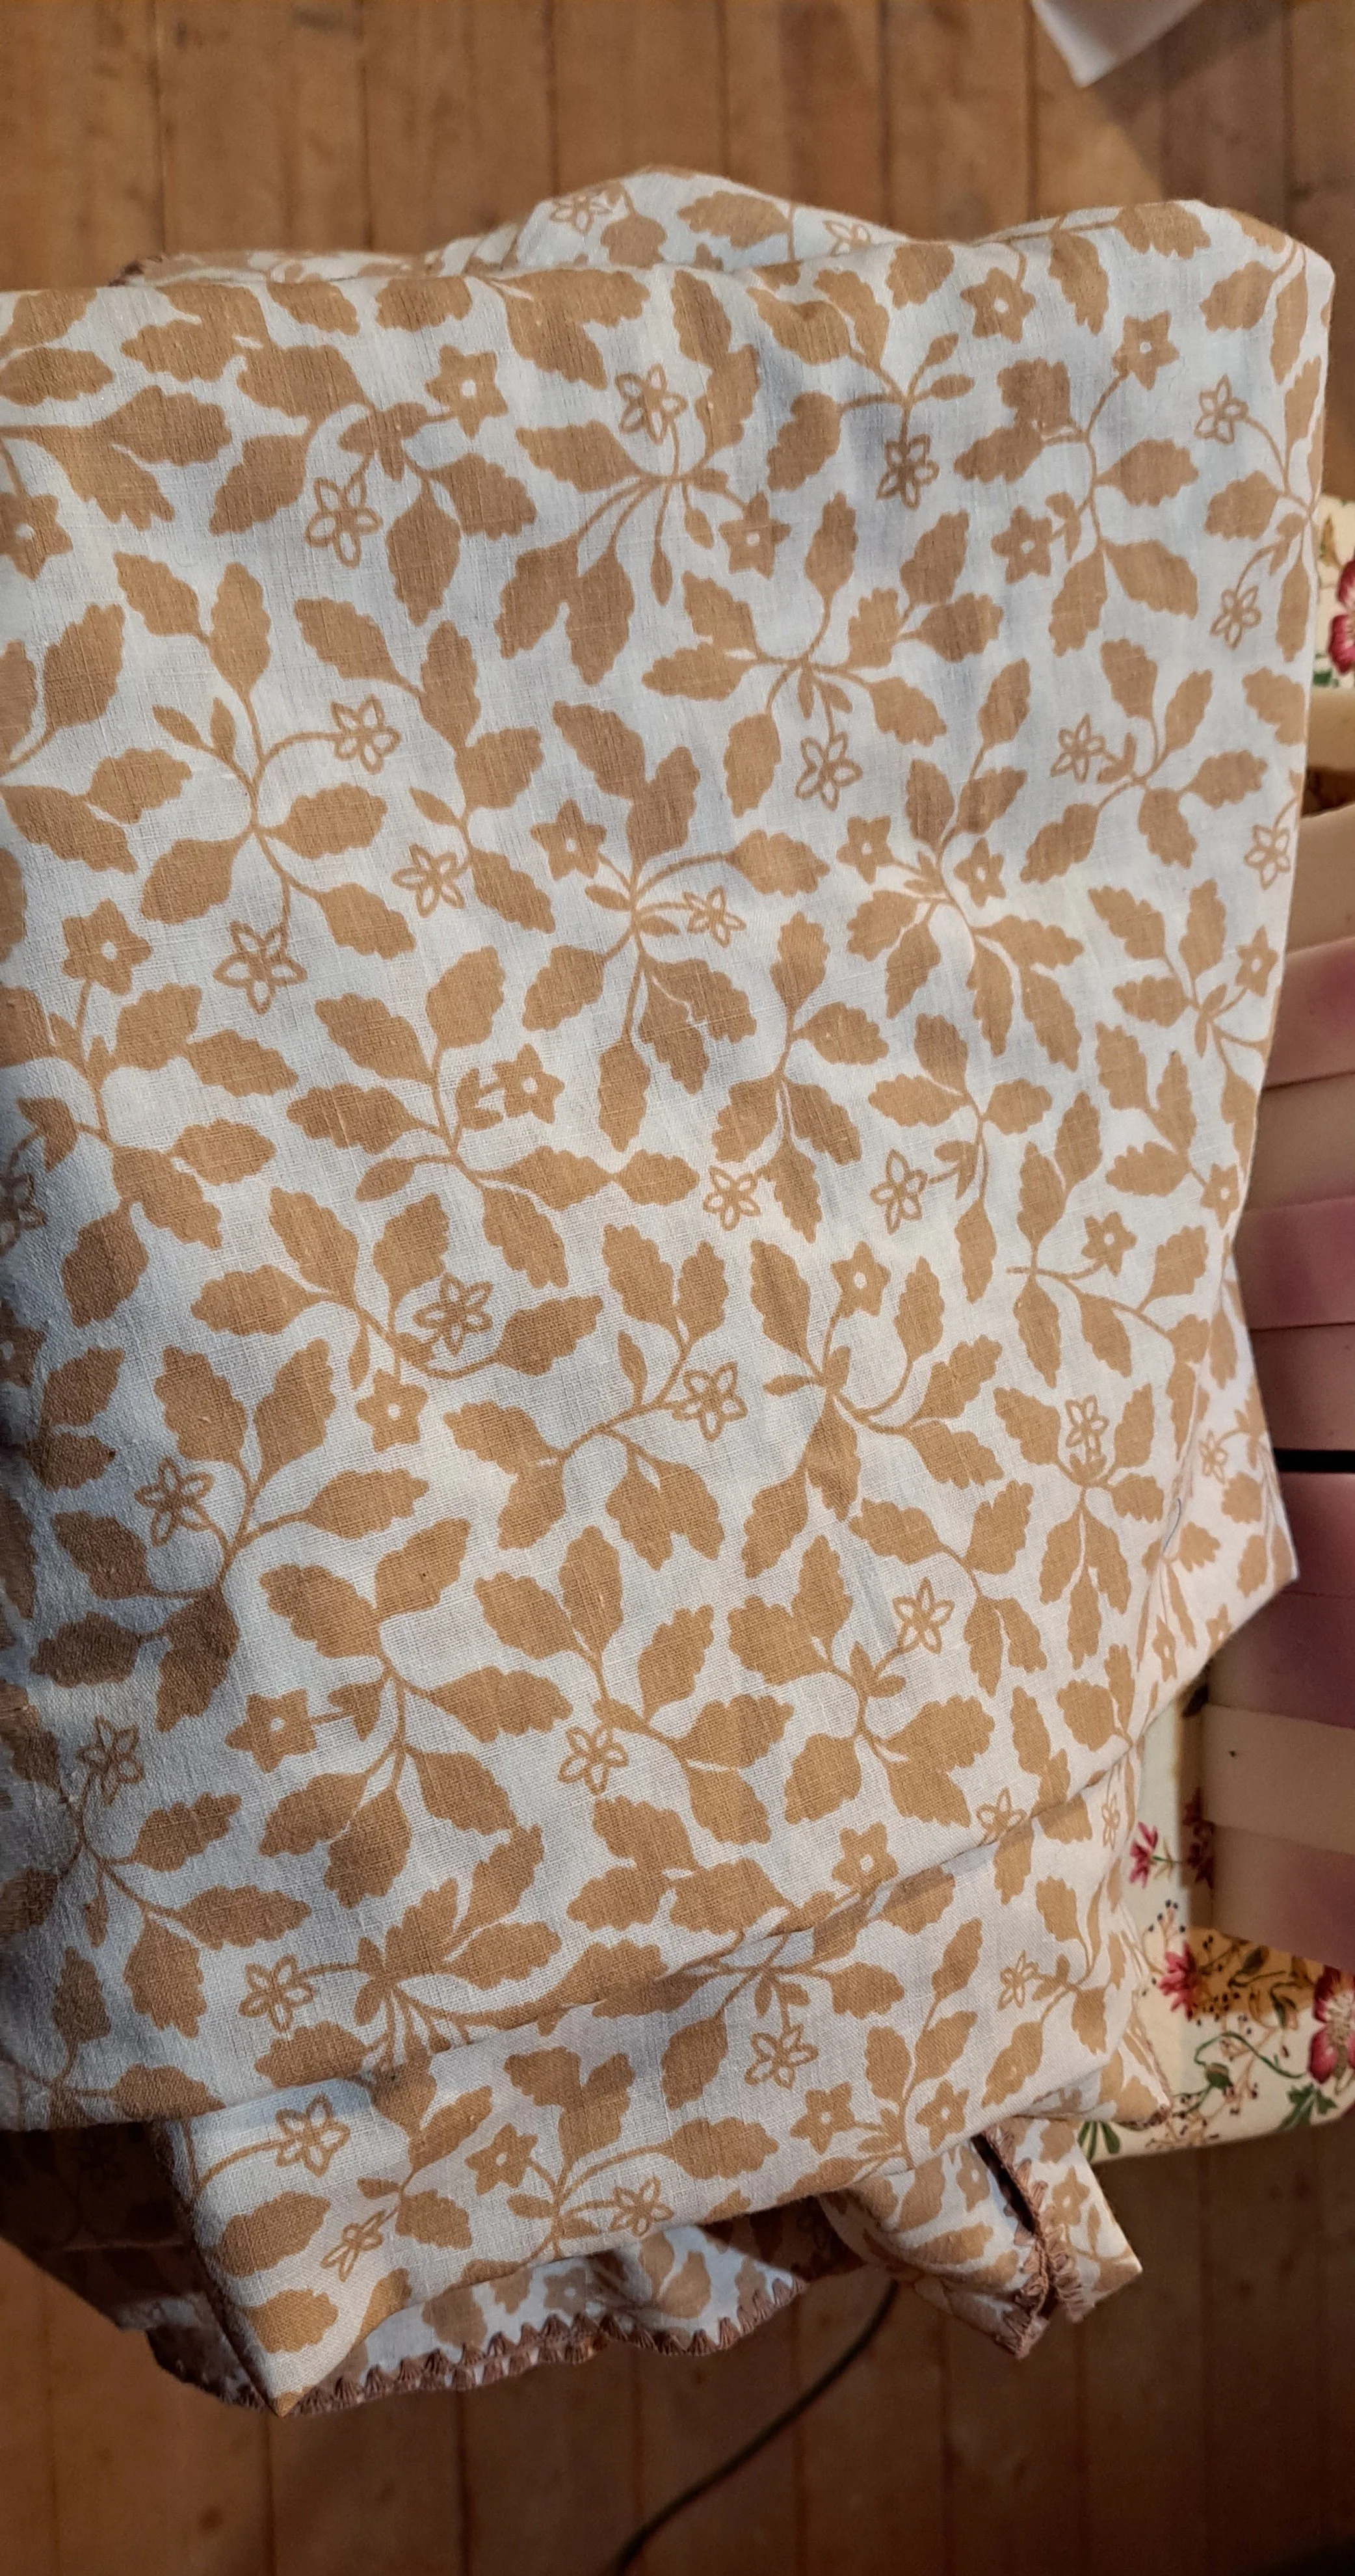
Thrift Stores are a great source of very inexpensive fabric. Old sheets, curtains or tablecloths work great!
Materials You’ll Need
Fabric (cotton, linen, or any breathable material)
Scissors or a rotary cutter
Sewing machine or needle and thread
Pins or fabric clips
A bowl for sizing
Measuring tape or ruler
Fabric Marker, chalk or pen
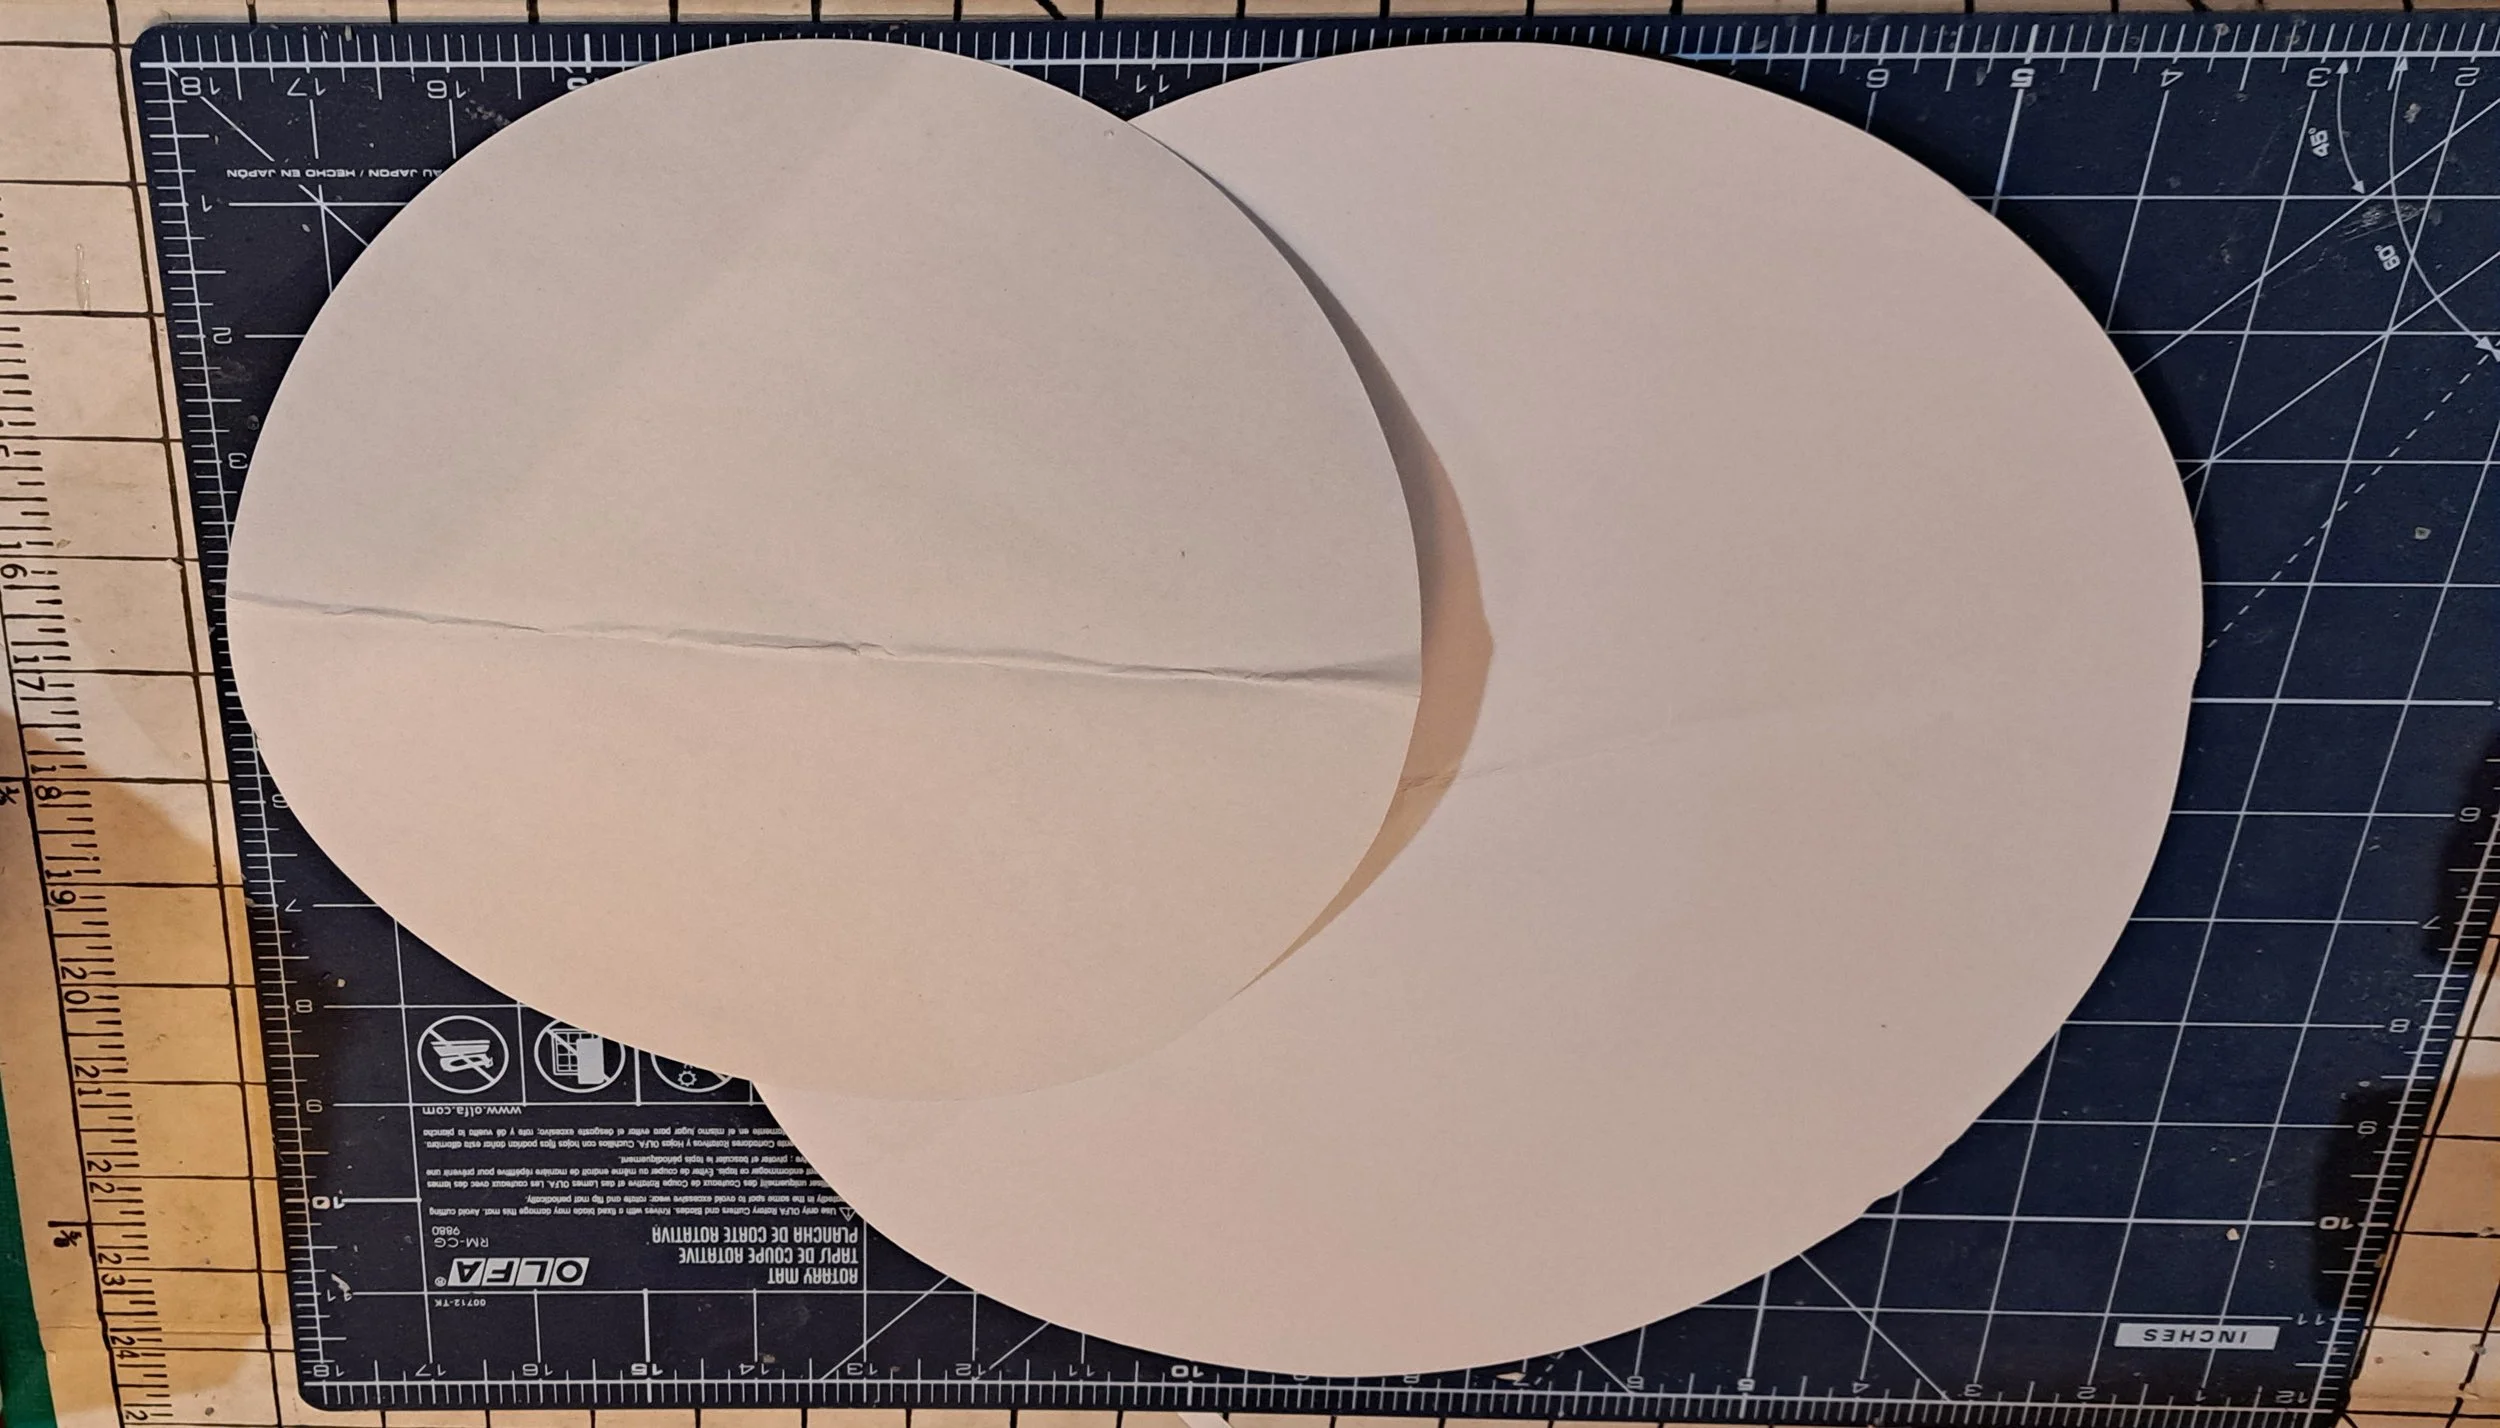
Poster board patterns created from skillet lids.
Step-by-Step Instructions
1. Choose Your Fabric
Select a fabric that speaks to your rustic aesthetic. Cotton and linen are ideal because they’re breathable and easy to clean. If you’re feeling creative, mix and match patterns or use upcycled fabric from old tablecloths or shirts.
2. Measure Your Bowl
Place your bowl upside down on the fabric and trace around it with a fabric marker or chalk. Add 2 inches to the diameter for the seam allowance and elastic casing. For example, if your bowl is 10 inches in diameter, cut a circle that’s 12 inches in diameter.
3. Cut the Fabric
Using your traced circle as a guide, cut out your fabric. If you’re making multiple covers, repeat this step for each one.
4. Hem the Edges
Fold the edge of the fabric over by 1/4 inch and press it with an iron. Then fold it over again by 1/2 inch to create a clean hem. Pin or clip the hem in place.
5. Sew the Hem
Using a sewing machine or needle and thread, sew around the edge of the circle, leaving a 2-inch gap to insert the elastic. Make sure to backstitch at the beginning and end to secure the seam.
6. Insert the Elastic
Cut a piece of elastic that’s slightly smaller than the circumference of your bowl (about 1-2 inches shorter). Attach a safety pin to one end of the elastic and thread it through the casing you’ve created. Once the elastic is all the way through, overlap the ends and sew them together securely.
7. Close the Gap
Finally, sew the 2-inch gap closed, making sure the elastic is tucked inside. Give your cover a gentle stretch to distribute the elastic evenly.
If I have enough left over fabrics I will pair them together and make the bowl covers reversible like the one above.
Tips for Success
Custom Sizing: Make covers for all your bowls in various sizes. Label them if needed so you know which cover fits which bowl.
Washable and Durable: These covers are machine washable, so they’re easy to care for. Just toss them in with your regular laundry.
Get Creative: Add decorative touches like embroidery, lace trim, or fabric paint to personalize your covers.

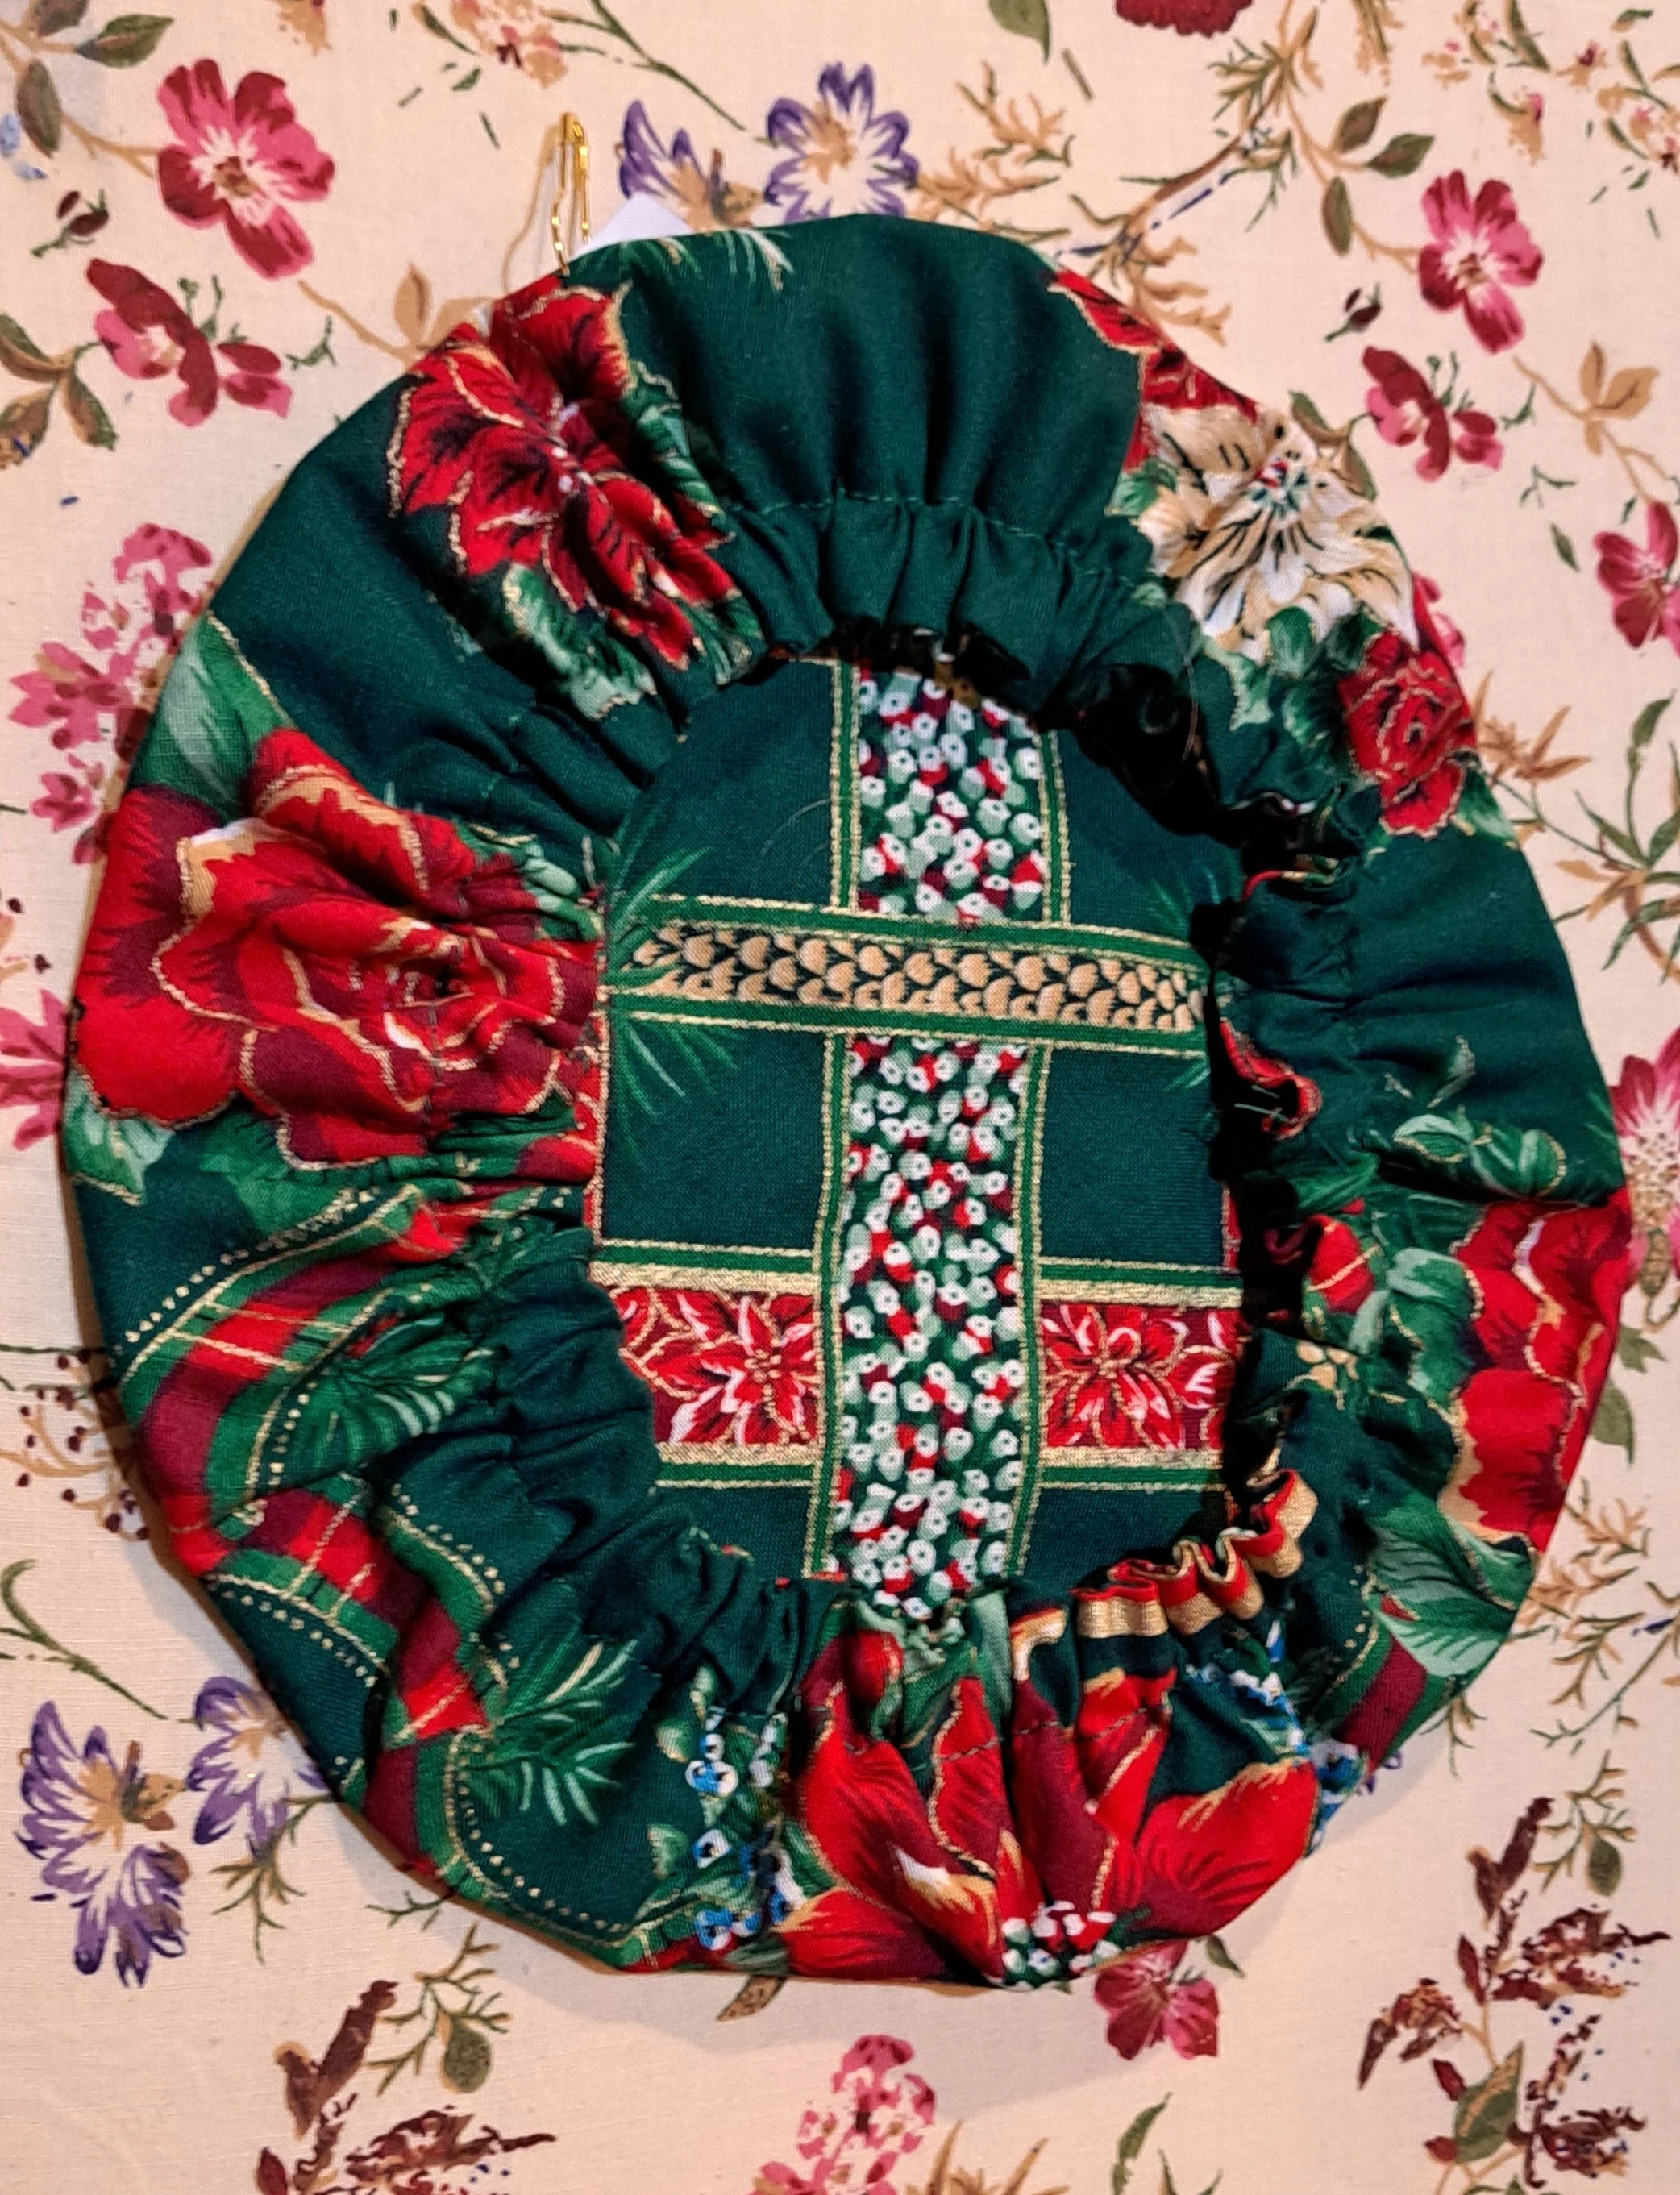
Small holiday bowl cover.
How to Use Your Cloth Bowl Covers
Using your cloth bowl covers is as simple as stretching them over the rim of your bowl. They’re perfect for:
Covering dough while it rises. I have a large one that fits over my sourdough bowl. I love it!
Keeping salads fresh in the fridge
Storing leftovers
Adding a rustic touch to your table during gatherings
Embrace the Simple Life
Making your own cloth bowl covers is more than just a craft project—it’s a step toward a simpler, more intentional way of living. By choosing reusable over disposable, you’re not only reducing waste but also creating something beautiful and functional for your home. So, grab your fabric and elastic, and let’s make the world a little greener, one bowl cover at a time!
I hope this tutorial inspires you to add a touch of handmade simplicity to your kitchen. If you make your own cloth bowl covers, I’d love to see them! Share your creations on social media and tag #RusticRootsSimpleLiving. Happy sewing! 🌿
Roxanne
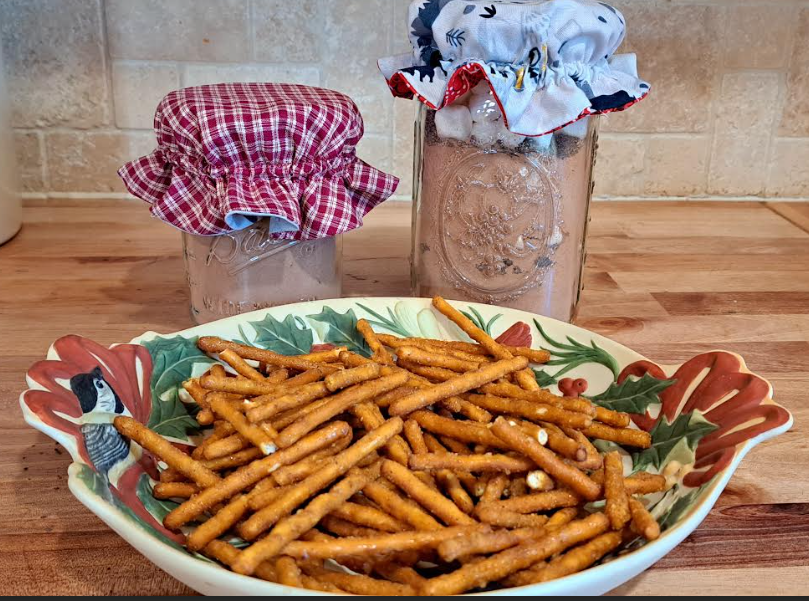
Mason Jar bonnets can be made the same way as a bowl cover, just move the elastic in an inch. I decorated the jars on my shelves at Christmas with holiday jar bonnets.